What if your best drawing studio is already sitting on your desk?
Digital drawing at home no longer requires expensive gear, a formal art background, or a dedicated workspace. With the right tablet, stylus, software, and setup, you can start sketching, painting, and improving from almost anywhere.
The challenge is knowing which tools actually matter-and which ones only drain your budget. Choosing wisely from the beginning can make your learning curve smoother, your workflow faster, and your creative sessions far more enjoyable.
This guide will help you build a practical home digital drawing setup so you can focus less on confusion and more on creating art.
What You Need to Start Digital Drawing at Home: Devices, Software, and Workspace Basics
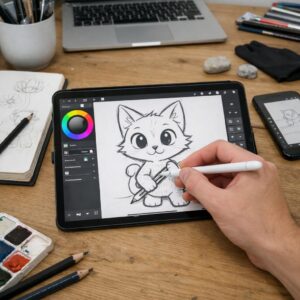
To start digital drawing at home, you need three things: a reliable device, drawing software, and a comfortable workspace. A beginner can work well with a budget drawing tablet connected to a laptop, while someone who wants a portable setup may prefer an iPad with an Apple Pencil. The best choice depends on your budget, drawing style, and whether you plan to create hobby art, commissions, stickers, concept art, or social media content.
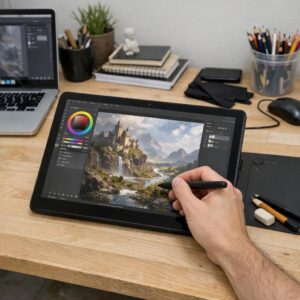
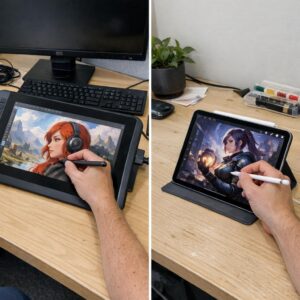
For devices, popular options include a screenless tablet like Wacom Intuos, a display tablet like Huion Kamvas, or an all-in-one tablet such as an iPad. Screenless tablets cost less and are great for learning, but they take a little coordination practice because you draw on the tablet while looking at the monitor. Display tablets feel more natural, especially for line art and illustration work.
- Software: Try Procreate for iPad, Clip Studio Paint for comics and illustration, or Adobe Photoshop for professional digital art and editing.
- Storage: Use cloud backup like Google Drive or iCloud so client files, brushes, and layered artwork are not lost.
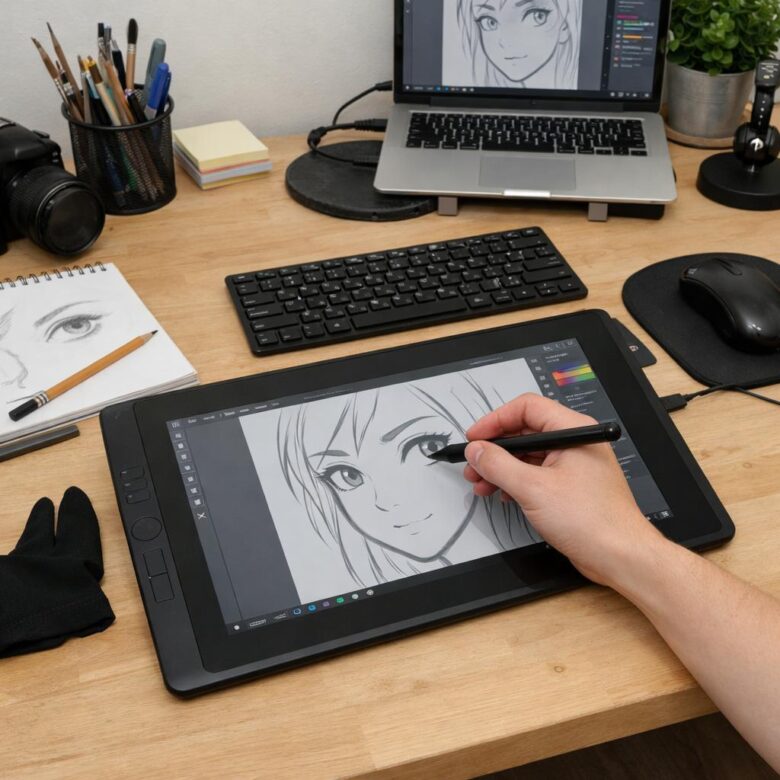
- Workspace: Keep your tablet, keyboard shortcuts, and reference screen within easy reach to reduce wrist and shoulder strain.
A real-world example: if you are drawing custom portraits from home, an iPad with Procreate can handle sketching, coloring, exporting, and client revisions without a full desktop setup. Still, a laptop plus drawing tablet may be better if you need larger files, multiple monitors, or professional design software. Good lighting, an adjustable chair, and a clean desk matter more than people think; comfort directly affects how long you can draw without fatigue.
How to Set Up Your First Digital Art Workflow: From Sketching to Exporting Finished Artwork
Start with a simple workflow you can repeat, not a complicated setup full of unused features. Open your digital drawing software, such as Procreate, Adobe Photoshop, or Clip Studio Paint, and create a canvas based on the final use: 300 DPI for print artwork, or a smaller RGB canvas for social media, portfolio sites, and online commissions.
Begin with a rough sketch on its own layer, then lower the opacity and draw clean lines above it. This keeps your digital art process organized and makes revisions easier, especially if you are using a drawing tablet, iPad, or pen display for client work or personal projects.
- Sketch layer: loose shapes, pose, composition, and quick corrections.
- Line and color layers: separate outlines, flat colors, shadows, and highlights.
- Export folder: save editable files, web images, and print-ready versions separately.
A real-world example: if you are drawing a custom pet portrait, keep the reference photo on one side, sketch on a separate layer, then build color gradually instead of painting everything on one layer. In practice, this saves time when a client asks for a collar color change or background adjustment.
When exporting finished artwork, save the original file first, such as PSD, Procreate, or CLIP format, so you can edit it later. Export PNG for sharp web images with transparency, JPEG for smaller online uploads, and PDF or TIFF when sending high-resolution artwork to a professional printing service.
Common Beginner Mistakes When Choosing Digital Drawing Tools-and How to Avoid Them
One of the biggest mistakes beginners make is buying the most expensive drawing tablet before understanding their needs. A high-end pen display looks impressive, but if you only sketch characters or practice line art at home, a budget graphics tablet from Wacom, Huion, or XP-Pen may offer better value and lower upfront cost.
Another common issue is ignoring software compatibility. For example, Procreate only works on iPad, while Clip Studio Paint, Photoshop, and Krita support different devices and operating systems. Before purchasing any digital art software or tablet, check whether it works with your laptop, desktop, or mobile device.
- Choosing by features alone: Pressure sensitivity matters, but screen size, pen comfort, driver stability, and shortcut buttons affect daily use more than flashy specs.
- Forgetting hidden costs: Paid apps, cloud storage, replacement nibs, screen protectors, and tablet stands can increase your total setup cost.
- Skipping ergonomics: Drawing for hours on a flat tablet or small screen can strain your wrist, neck, and shoulders.
A practical approach is to match the tool to your real use case. If you draw casually after work, an iPad with Procreate may be simple and portable; if you plan to create comics, concept art, or client illustrations, a pen tablet plus desktop software may give you more flexibility. Start with reliable, affordable equipment, then upgrade when your skills and workflow actually demand it.
Key Takeaways & Next Steps
Starting digital drawing at home is less about buying the most expensive gear and more about choosing tools that fit your current skill, space, and budget. A reliable tablet, comfortable stylus, and beginner-friendly software are enough to build real progress.
Practical takeaway: start simple, practice consistently, and upgrade only when your tools begin to limit your work. If you are unsure, choose affordability and ease of use first. The right setup should make drawing feel natural, reduce frustration, and help you focus on developing your style.